If you already have Jenkins as your build server and want to take advantage of services in Azure DevOps without fully switching over, you may find yourself with an existing Jenkins infrastructure, a source control repository, an Azure DevOps subscription, and a lot of questions. Fortunately, there are many extensibility points you can use to tie these solutions together in a way that works best for your business and team’s skillsets.
Integrate Azure Repos with Jenkins
If you've migrated from TFS to Git in Azure Repos or have started with Git in Repos and are looking to reuse your Jenkins infrastructure, you may be interested in automatically triggering a Jenkins build from Azure DevOps.
Note: To try out this functionality without affecting your current Jenkins infrastructure, you can spin up a Jenkins instance using the public repository image: https://hub.docker.com/r/jenkins/jenkins/
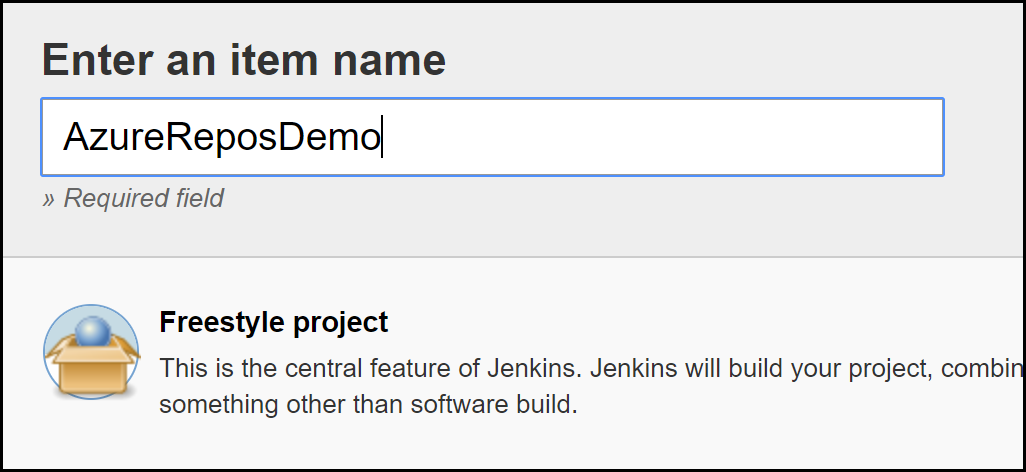
Once in Jenkins, you can create a new Job as a Freestyle project:
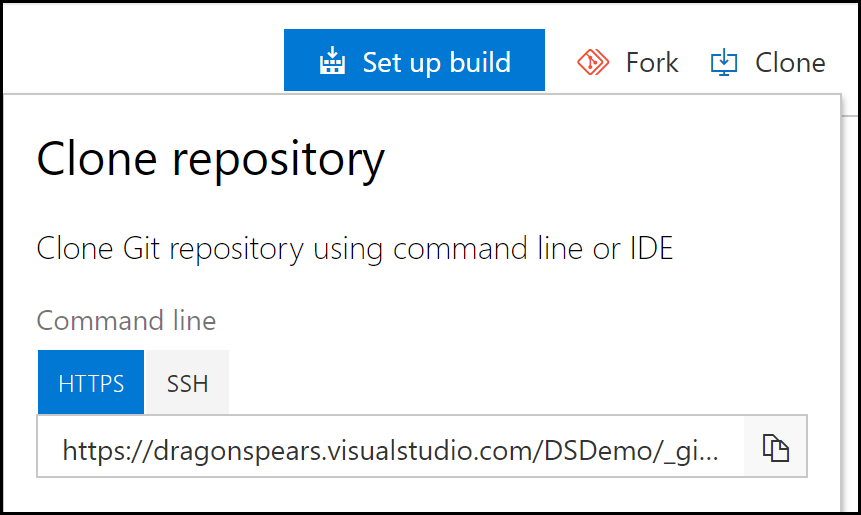
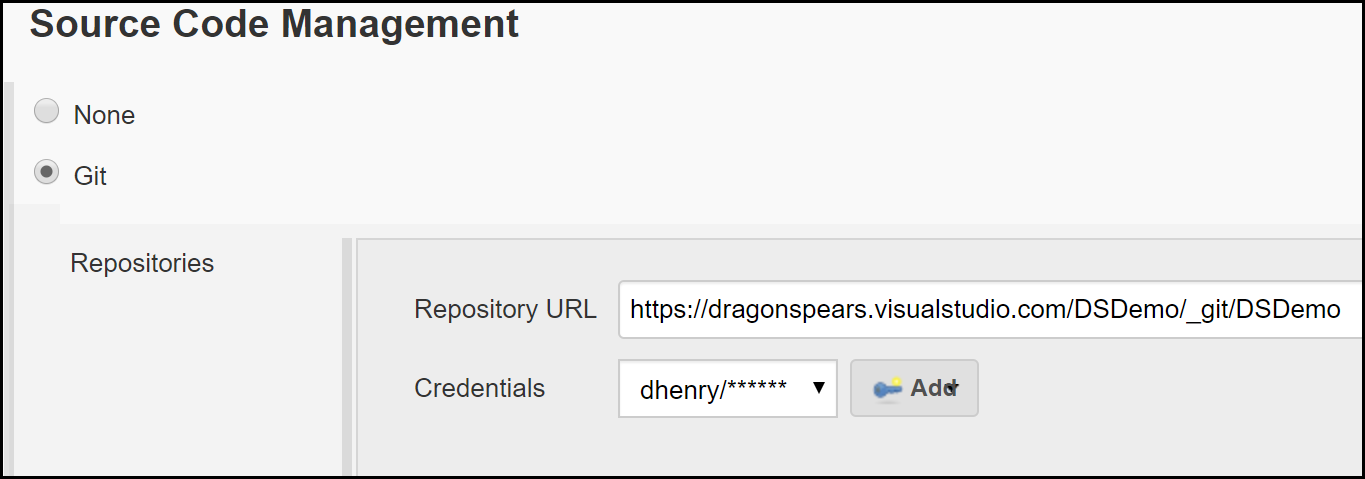
Then, under the Source Code Management tab, set the provider to Git with the Repository URL pointing to your Azure Repo. The Repository URL can be retrieved from Azure Repos. If you are using a private repository, make sure to generate a Personal Access Token (PAT) and use those as the credentials.
Once you save those changes, Azure Repos will now be integrated with Jenkins!
Continuous Integration (CI) with Jenkins & Azure Repos
Azure DevOps allows you to provide various service hooks that create significant extensibility. You can take advantage of that capability to connect your Jenkins infrastructure with Azure DevOps Services.
Configuring a Service Hook from Azure Repos and using the Team Foundation Server plugin in Jenkins enables Continuous Integration for your build. Although the name is TFS specific, the plugin supports Azure Repos as well.
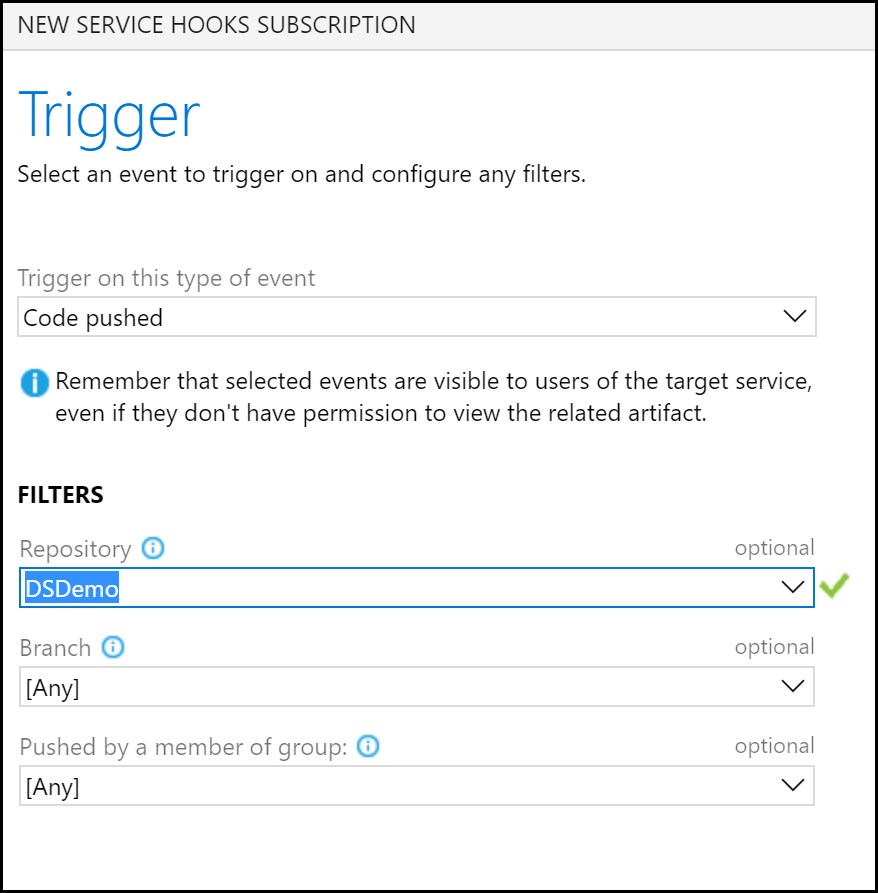
In your Azure DevOps project, go to Project Settings -> Service Hooks. Then select Create Subscription and choose Jenkins. Use the “Code pushed” event and set any specific filters as necessary for your builds.
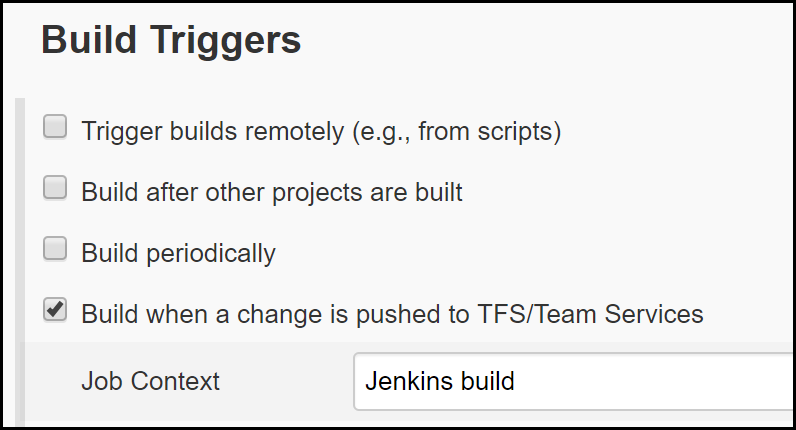
Next, specify your endpoint for Azure DevOps to communicate with Jenkins. Once the TFS plugin is configured, you can enable the trigger for your build and have continuous integration between the two environments!
Continuous Delivery/Deployment (CD) with Jenkins & Azure Pipelines
If you have your Continuous Integration process in Jenkins and are looking to take advantage of the fantastic Continuous Delivery/Deployment options in Azure Pipelines, then next up is to have Jenkins send artifacts to Azure DevOps for a Release Pipeline.
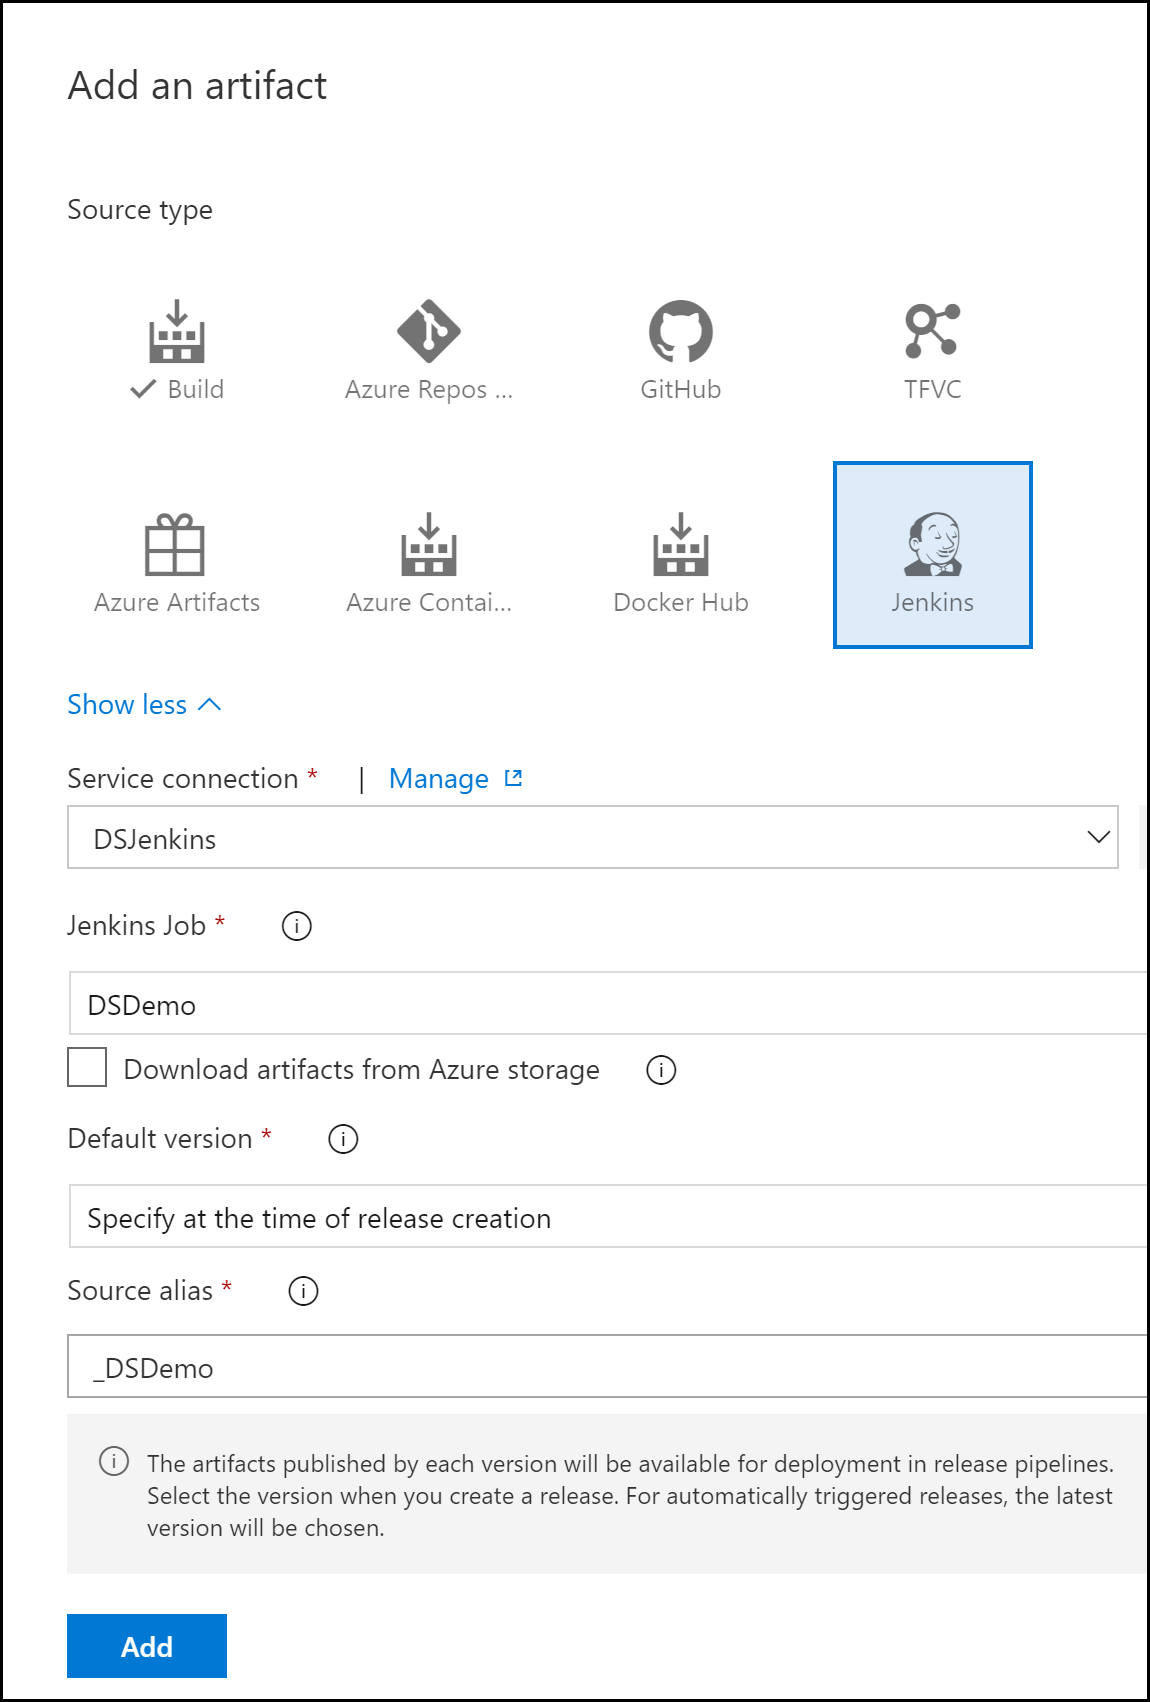
A Release Pipeline specifies the process Azure Pipelines will use to deploy your application. It can be configured with approval gates to build confidence in your delivery as it matures. To create, select Releases under your project’s Pipelines menu and choose the option for a New pipeline. Then, use a Jenkins artifact as a trigger for your Release pipeline:
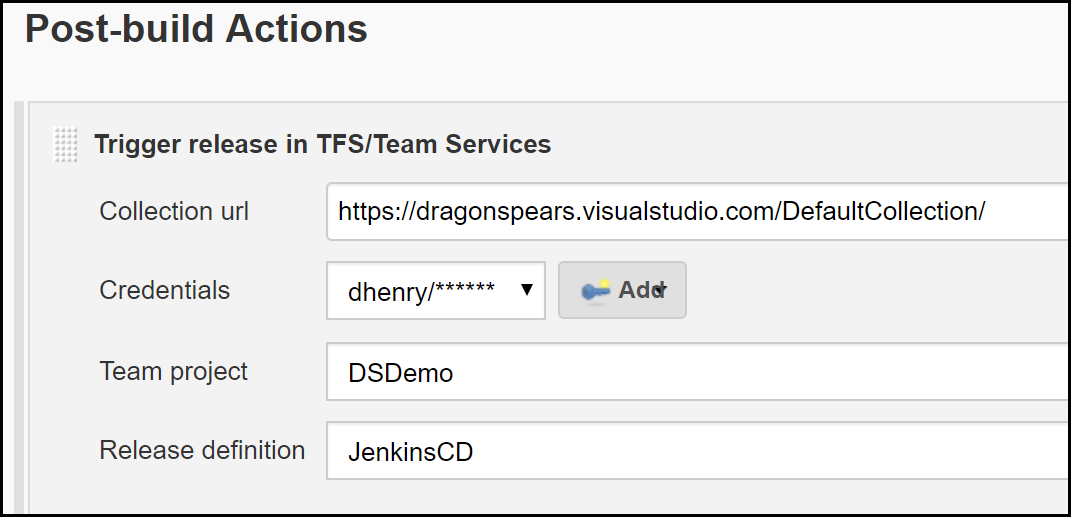
Azure Pipelines will now be connected to Jenkins. To enable Jenkins to trigger the Release pipeline, modify your build to add a Post Build Step “Archive the artifacts” and to “Trigger release in TFS/Team Services”:
Once saved, you will now have a full CI/CD pipeline using your current Jenkins infrastructure and Azure DevOps Services.
